
This comprehensive guide offers a detailed walkthrough on deploying a Laravel application using the Infrastructure-as-a-Service (IaaS) model. It specifically focuses on utilizing the AWS EC2 virtual machine (VM) to host and deploy the application following the installation of the necessary servers.
Pre Requisites:
- You need an AWS account
- Have an EC2 VM created on AWS and Connect to it using SSH or Putty.
- Have a little bit of knowledge of using Laravel.
Good Practices
Update and Upgrade old packages
sudo apt update
sudo apt-get upgrade
Install Zip and Unzip Packages
sudo apt install zip unzip
Apache Server
sudo apt install apache2
Restart the apache2 service
sudo service apache2 restart
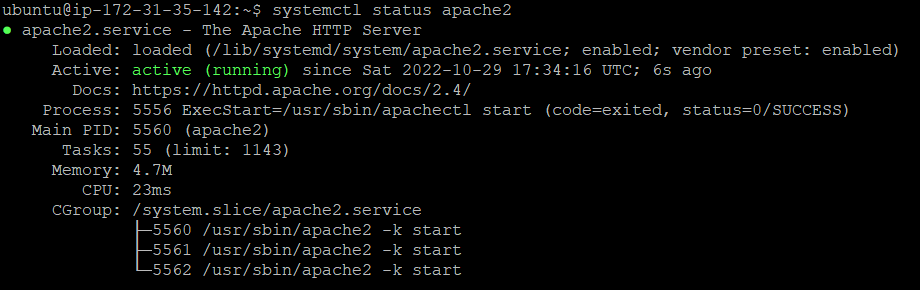
Check if the service is running
systemctl service apache2
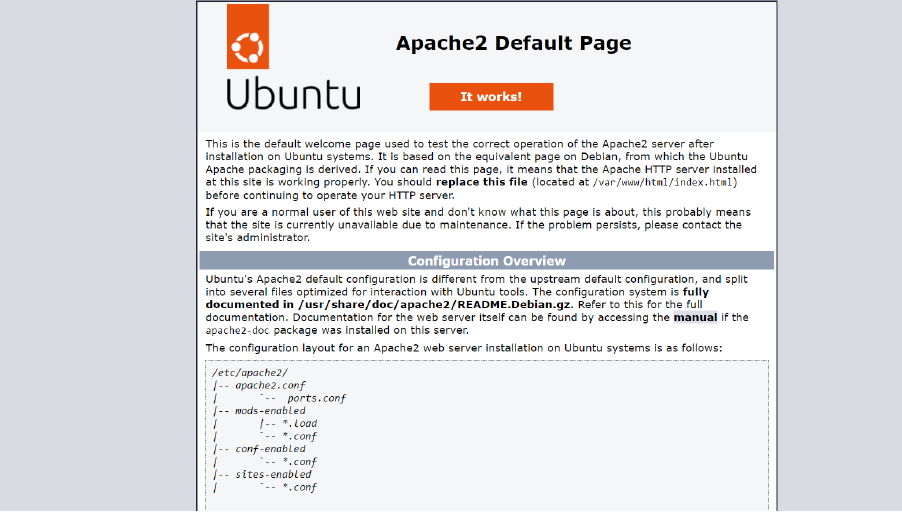
Run AWS Public IPv4 DNS in the browser to verify Apache is running.
ec2–43–204–28–191 .ap-south-l.compute.amazonaws.com
MySQL Server
sudo apt install mysql-server
sudo mysql_secure_installation
Error (of no root user authentication)

Fix
Open MySQL in the terminal and alter the root user.
root> mysql
mysql> ALTER USER 'root'@'localhost' IDENTIFIED BY 'root-password';

PhpMyAdmin
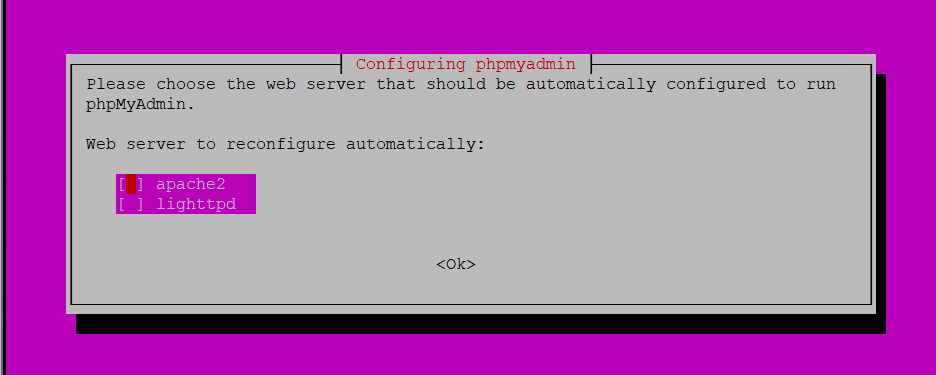
sudo apt install phpmyadmin
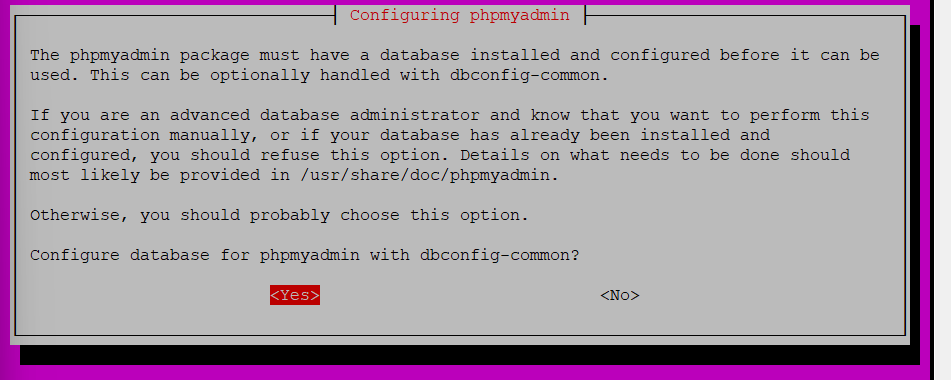
Verify in the browser if PhpMyAdmin works.
ec2–43–204–28–191 .ap-south-l.compute.amazonaws.com/phpmyadmin
Error

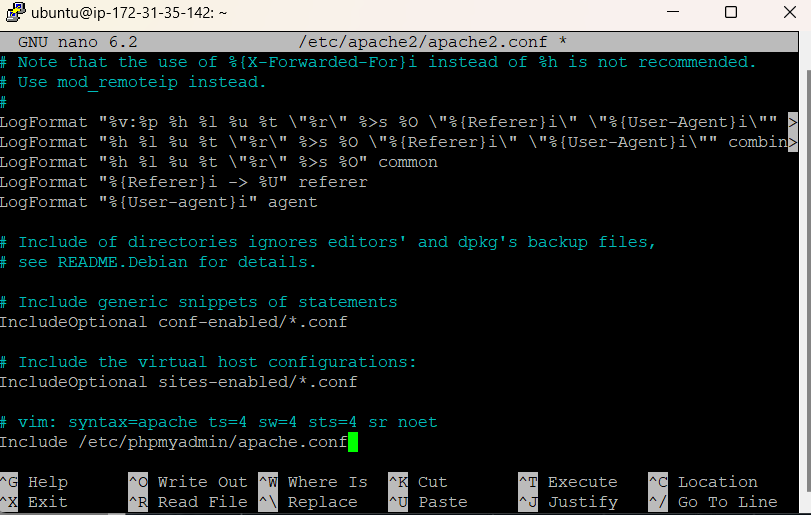
sudo nano /etc/apache2/apache2.conf
Add this line at the end of the file
include /etc/phpmyadmin/apache.conf
sudo apt install libapache2-mod-php8.1
***Note: ***Change the PHP version as needed
Restart Apache Server
sudo service apache2 restart
Recheck if phpmyadmin works in the browser.
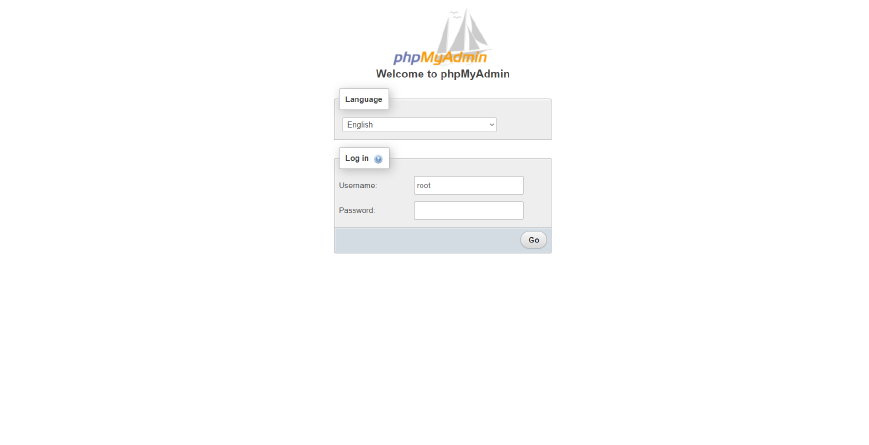
Login to phpmyadmin and create a new database for your application.
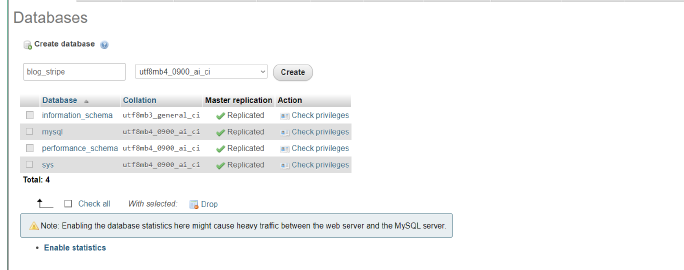
PHP Package Installation
sudo apt install php libapache2—mod—php php—mbstring php—xmlrpc php—soap php—gd php—xml php—cli php—zip php—bcmath php—tokenizer php—json php—pear php—mysql php—curl php—memcached php—xdebug php—intl php—fpm php—pgsql php—imap
Verify PHP installation and version
php -v

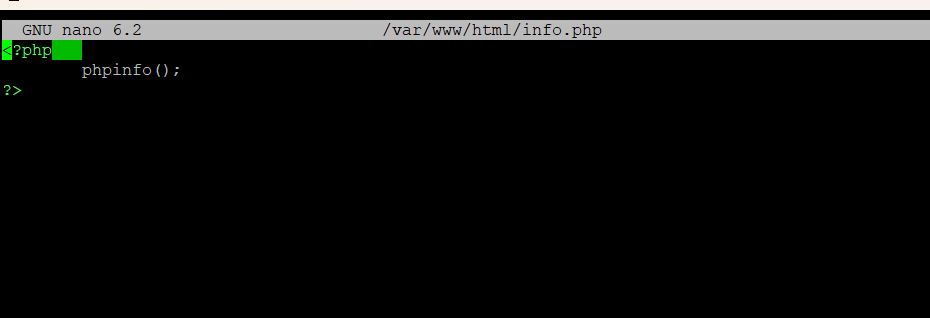
Create info.php to verify installation in the browser.
sudo nano /var/www/html/info.php
Write this in the file
Check in the browser.
ec2–43–204–28–191 .ap-south-l.compute.amazonaws.com/info.php
Deploying Project
mkdir Blog
cd Blog/
git clone https://github.com/MohammadHarisZia/Blog-CMS.git
cd Blog-CMS/
Install NPM
sudo apt install npm
npm install
Copy .env.example to .env
cp .env.example .env
Note:* Change required variables inside the env.*
Generate key
php artisan key:generate

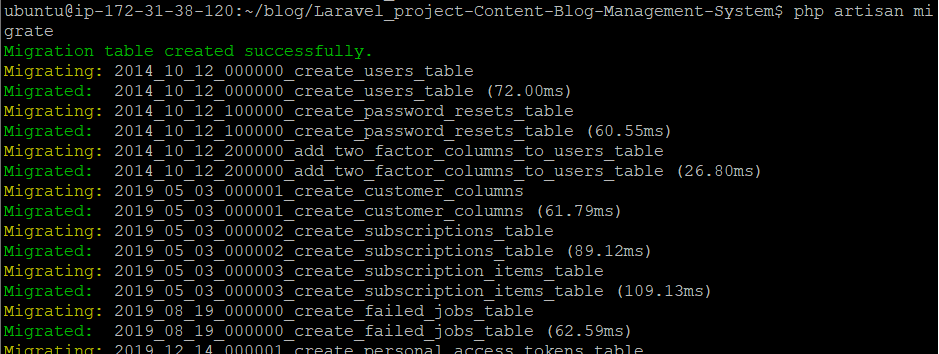
Migrate tables
php artisan migrate
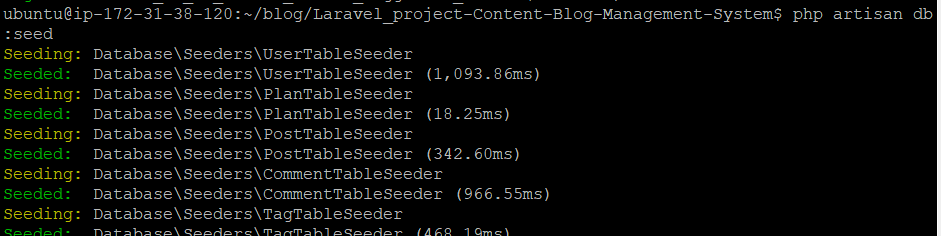
Database Seeding
php artisan db:seed
Serve using artisan
php artisan serve --host 0.0.0.0
Note:* This is a development server. You would need to make changes to make it production ready.*
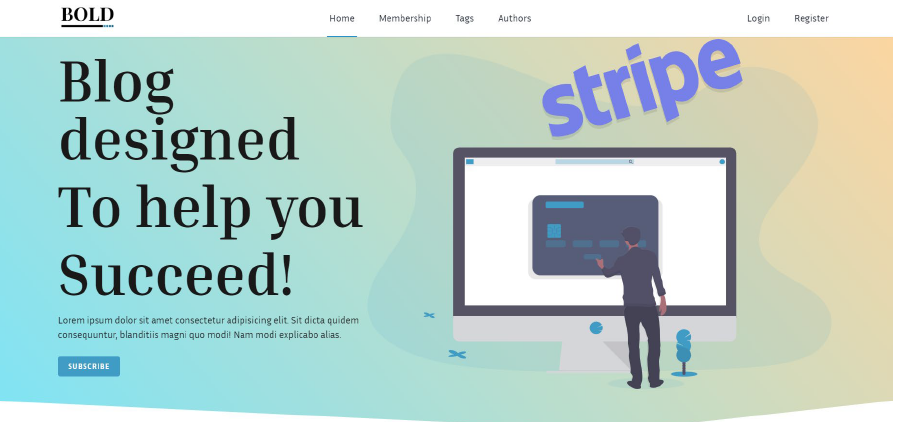
Voila, You have done Part 1.
Part 2
Moving and changing file permissions to make production-ready deployment using the apache2 server.
Move/Copy the folder to Apache.
sudo cp —r /home/ubuntu/blog/Blog-CMS /var/www/html
sudo chgrp —R www-data /var/www/html/Blog-CMS/
Change Permissions of storage folder.
sudo chmod —R 775 /var/www/html/Blog-CMS/storage
Create a New Virtual Host for the project.
cd /etc/apache2/sites-available
sudo nano laravel_project.conf
Add this to the file
<VirtualHost *:80>
   ServerName thedomain.com
   ServerAdmin webmaster@thedomain.com
   DocumentRoot /var/www/html/example/public

   <Directory /var/www/html/example>
       AllowOverride All
   </Directory>
   ErrorLog ${APACHE_LOG_DIR}/error.log
   CustomLog ${APACHE_LOG_DIR}/access.log combined
</VirtualHost>
Note: Remember to replace thedomain.com with your server’s IP address.
Save the file and close it.
Disable the default configuration file of the virtual hosts in Apache.
sudo a2dissite 000-default.conf
Enable the new host.
sudo a2ensite laravel_project
Enable the Apache rewrite module.
sudo a2enmod rewrite
Restart the Apache service.
sudo systemctl restart apache2
Voila, Now you can access your project in the browser without serving it using artisan.
Deployment of the Laravel application using the IaaS model (AWS EC2) was originally published in DevOps.dev on Medium, where people are continuing the conversation by highlighting and responding to this story.
Originally published on Medium.